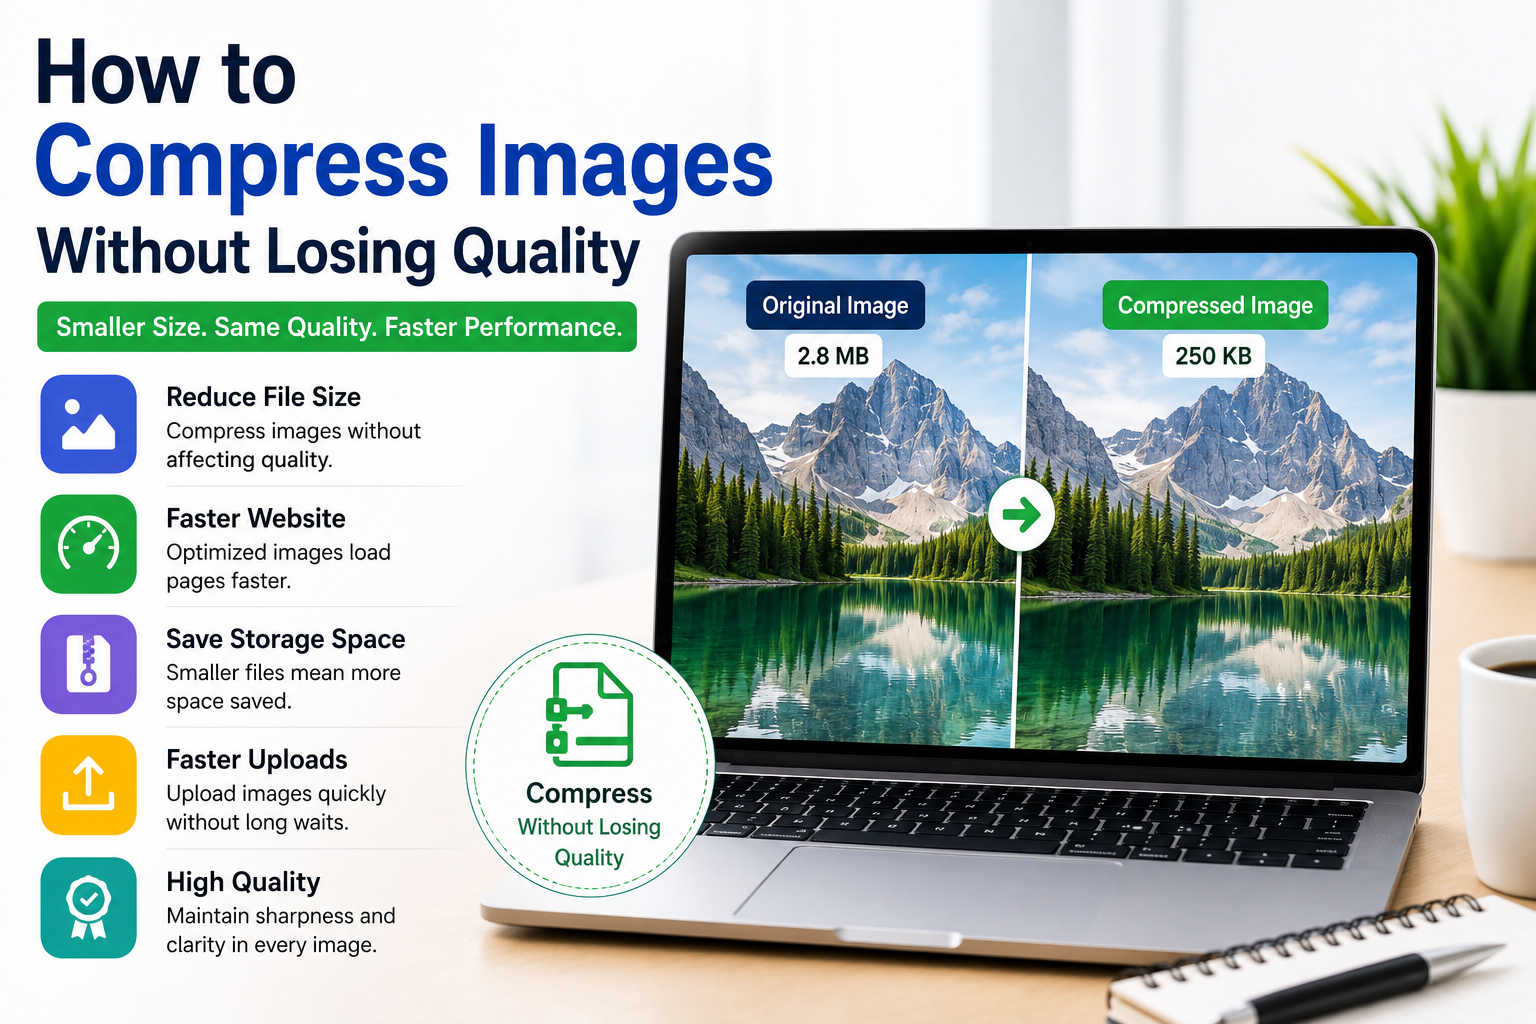
Images are an important part of every website, blog, online store, and social media post. A good image makes content more attractive, but large image files can create problems. They slow down websites, take up storage space, and make files harder to share. I faced this issue when I started uploading images to my own website. Some pages loaded slowly because the image sizes were too large. Instead of reducing image quality, I learned how to compress images properly while keeping them sharp and clear.
The good news is that you do not have to sacrifice quality to reduce file size. By using the right methods and understanding a few basic techniques, you can make your images much smaller without noticeable quality loss.
In this article, I will explain how to compress images without losing quality using simple techniques that anyone can follow.
Why Image Compression Is Important
Many people upload images directly from their camera or smartphone without making any changes.
Modern phones capture very high resolution photos that often have file sizes of several megabytes.
While these images look great, they are much larger than necessary for websites, blogs, or online sharing.
Large images slow page loading, increase bandwidth usage, consume storage space, and negatively affect user experience.
Compressing images solves these problems while keeping them visually attractive.
What Is Image Compression?
Image compression is the process of reducing the file size of an image.
The goal is to make the image smaller while maintaining as much visual quality as possible.
A properly compressed image should look almost identical to the original, even though its file size is much lower.
This makes uploading, downloading, and displaying images much faster.
Understand Lossless and Lossy Compression
Before compressing images, it helps to understand the two main compression methods.
Lossless compression reduces file size without removing image details.
The original quality remains almost exactly the same.
Lossy compression removes small amounts of image data that are usually difficult for the human eye to notice.
When used carefully, lossy compression creates much smaller files while maintaining excellent visual quality.
Choosing the right compression method depends on how the image will be used.
Choose the Right Image Format
The file format has a major impact on image size.
JPEG works well for photographs because it provides excellent compression while maintaining good quality.
PNG is better for graphics, screenshots, and images requiring transparent backgrounds.
WebP offers excellent compression with high image quality and has become increasingly popular for websites.
Selecting the correct format is often the easiest way to reduce file size.
Resize Images Before Uploading
One mistake I used to make was uploading full size camera images directly to my website.
A photo that measures several thousand pixels wide is unnecessary for most websites.
Before uploading an image, resize it to match the maximum display size.
Smaller dimensions automatically reduce file size without affecting the way visitors see the image.
Remove Unnecessary Metadata
Digital images often contain hidden information.
This metadata may include camera settings, location details, editing history, and other technical information.
Although useful in some situations, this data increases file size.
Removing unnecessary metadata helps reduce image size without changing the visible picture.
Avoid Compressing the Same Image Multiple Times
Repeatedly compressing the same image can gradually reduce quality.
Instead, always keep an original copy of your image.
Whenever you need a different version, create it from the original file instead of compressing an already compressed image.
This maintains better image quality over time.
Balance Quality and File Size
The goal is not to create the smallest possible file.
Instead, focus on achieving the best balance between image quality and file size.
In many cases, reducing quality slightly creates dramatic file size savings while remaining visually identical to most viewers.
Finding this balance becomes easier with experience.
Use Appropriate Resolution
High resolution images are useful for printing but often unnecessary for websites.
For online content, moderate resolution usually provides excellent appearance while reducing loading times.
Using only the resolution you actually need prevents unnecessarily large files.
Compress Images Before Publishing
I have developed the habit of compressing every image before uploading it.
This saves time later because the website remains optimized from the beginning.
Making image optimization part of your publishing workflow keeps everything organized.
Improve Website Speed
One of the biggest benefits of image compression is faster website loading.
Visitors prefer websites that load quickly.
Search engines also consider page speed when ranking websites.
By reducing image sizes, pages become more responsive and visitors enjoy a better browsing experience.
Save Storage Space
Images often consume more storage than any other type of content.
Whether storing photos on your computer, cloud storage, or website hosting account, smaller images help maximize available space.
Over time, the savings become significant.
Faster Uploads
Uploading large images can take several minutes depending on your internet connection.
Compressed images upload much faster.
This becomes especially helpful when managing websites with hundreds of images.
Saving even a few seconds per upload adds up quickly.
Faster Downloads for Visitors
Website visitors appreciate pages that load quickly.
Smaller images download faster, especially on mobile devices using slower internet connections.
This improves user satisfaction and reduces the chance that visitors leave before the page finishes loading.
Better Mobile Experience
Many people browse websites using smartphones.
Large images consume more mobile data and increase loading times.
Compressed images improve the browsing experience while reducing data usage.
This benefits both visitors and website owners.
Improve SEO Performance
Search engine optimization involves many factors, including page speed.
Since compressed images load faster, they contribute to better website performance.
While image compression alone will not guarantee higher rankings, it supports overall website optimization.
Every small improvement matters.
Keep Original Files Safe
Whenever I edit images, I always save the original versions separately.
If I ever need higher quality copies for printing or future editing, I can return to the original files.
This prevents permanent quality loss.
Organize Your Image Library
Keeping images organized also improves productivity.
I store original images in one folder and optimized versions in another.
This simple system prevents confusion and saves time when updating content.
Check Image Quality After Compression
After compressing an image, always inspect it carefully.
Zoom in and check important details.
If text becomes blurry or colors appear distorted, adjust the compression settings slightly.
Small improvements often restore excellent quality while keeping file sizes low.
Compress Images in Batches
If you manage many images, compressing them individually becomes time consuming.
Batch processing allows multiple images to be optimized together.
This saves time while ensuring consistent image quality across your website.
Choose the Right Image for the Right Purpose
Not every image requires maximum quality.
A large homepage banner may need higher quality than a small thumbnail.
Matching image quality to its purpose helps optimize file size more effectively.
Common Mistakes to Avoid
Many beginners accidentally reduce image quality too much.
Others upload massive images directly from their camera.
Some repeatedly compress the same file or choose the wrong image format.
Avoiding these mistakes produces much better results.
Always review images before publishing.
Develop Good Image Optimization Habits
Image optimization should become part of your regular workflow.
Resize images before uploading.
Choose the correct format.
Compress every image.
Keep original copies.
Check final quality.
Organize your files.
Following these habits consistently keeps websites fast and professional.
Is Image Compression Worth It?
Absolutely.
Image compression provides benefits for both website owners and visitors.
Pages load faster.
Storage requirements decrease.
Visitors enjoy smoother browsing.
Search engines favor faster websites.
Uploads become quicker.
Data usage decreases.
These advantages make image compression one of the simplest improvements you can make.
Final Thoughts
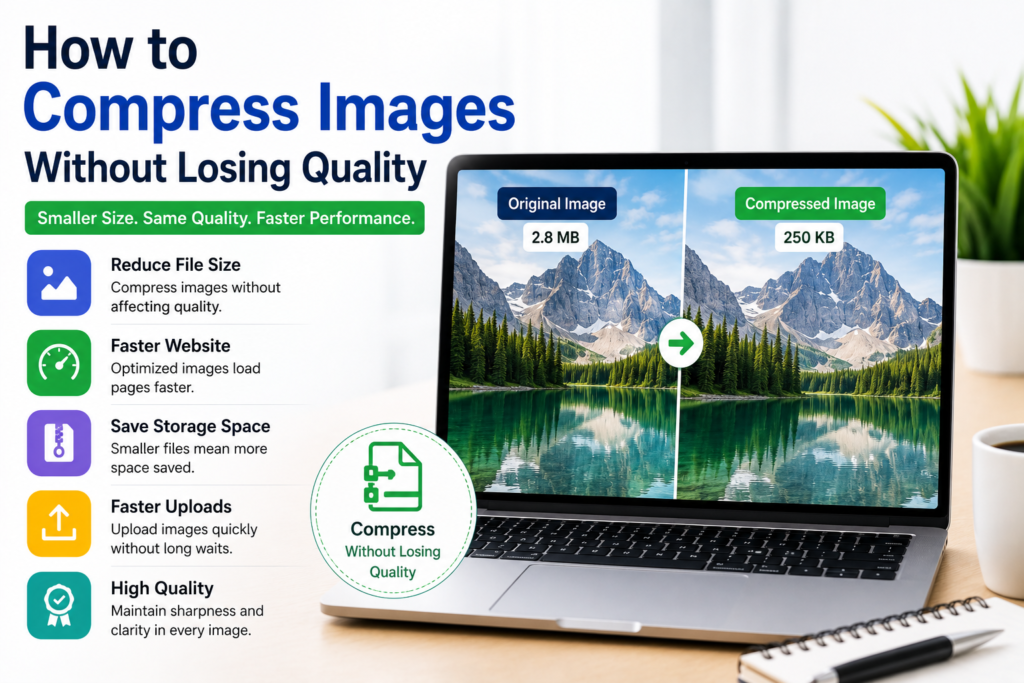
Learning how to compress images without losing quality is an essential skill for bloggers, website owners, photographers, designers, and anyone who works with digital images. Large image files can slow down websites, waste storage space, and reduce the overall user experience. Fortunately, by choosing the right image format, resizing images before uploading, removing unnecessary metadata, using appropriate compression methods, and checking the final quality, you can dramatically reduce file sizes while keeping images sharp and professional.
I personally compress every image before publishing it because it helps my website load faster and creates a better experience for visitors. Over time, this simple habit has saved storage space, improved website performance, and made content management much easier. If you start optimizing your images today, you will quickly notice the difference in speed, efficiency, and overall website quality.